Letting-Agent Approved: A £25 Stick-On Ranked Desk for Flats You Don't Own

Photo: renter desk setup command strips adhesive cable trunking under desk hooks headset mount UK flat, via images1.penguinrandomhouse.com
Your deposit is the final boss of every rented flat. You can out-aim a lobby full of sweaties, but you cannot out-argue a letting agent who has spotted four rawl plugs in the wall. So for November 2026 we built a ranked desk that asks for zero holes, zero drilling and zero drama at the check-out inspection. The budget was £25. The test window was a month of nightly queues. The brief was simple: keep the controller steady, keep the cables tidy, keep the headset off the floor, and leave nothing behind when it all comes down.
The renter's rulebook
No screws. No nails. No grabbing the landlord's drill because you fancy a shelf. Everything had to attach to the desk, the skirting or the underside of the surface, and everything had to come off without taking paint with it. We also set a weight rule: if a strip or hook was rated for 1kg, we would not hang more than 500g from it. That sounds paranoid until you watch a headset drop at 23:40 and take a controller cable with it.
The desk itself was a £30 fold-out job from Argos, the kind that wobbles if you breathe on it too hard. That made it a fair test. A good adhesive setup should calm a cheap desk, not just look neat on a showroom model.
What went into the basket
We kept the whole thing under £24, which left change for a coffee and a spare pack of strips:
- Command-style strips, mixed pack: £6.49
- Adhesive cable trunking, 2m: £5.99
- Under-desk hooks, pack of four: £4.49
- Removable headset mount: £6.99
Total: £23.96.
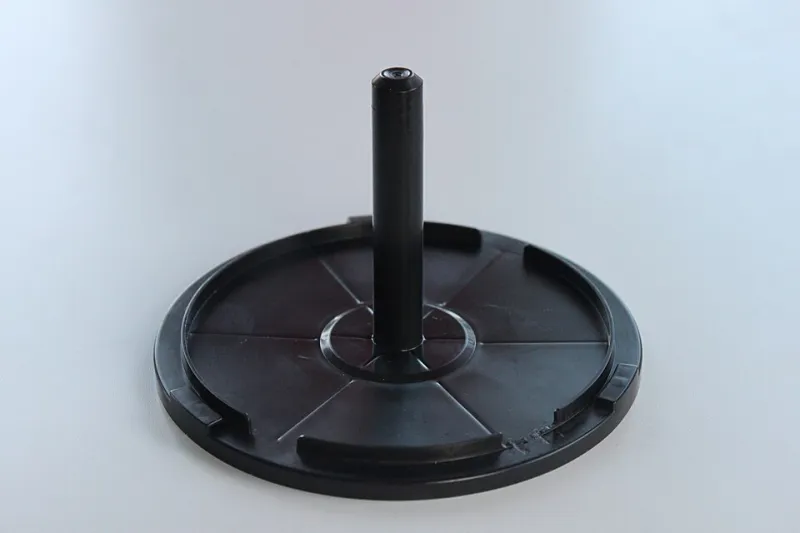
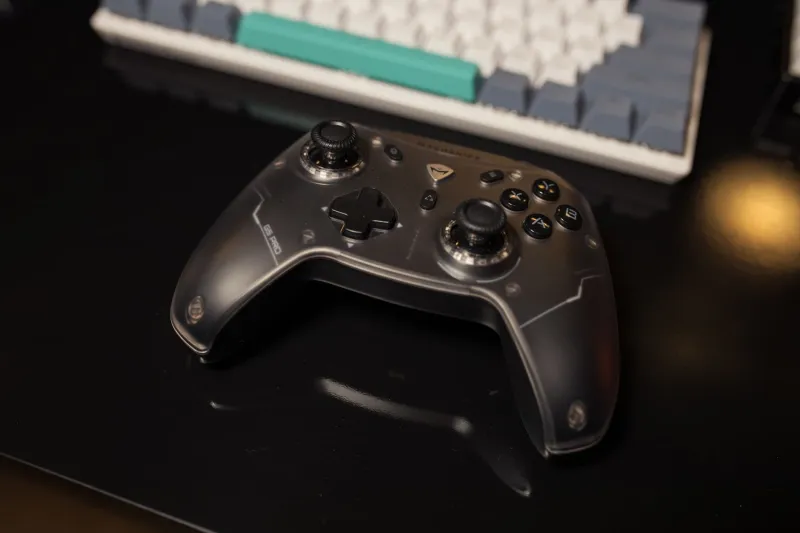
The controller dock was already on the desk. If you do not own one, a cheap plastic stand works fine, but check the base. A dock that slides around is worse than no dock at all, because you end up chasing it mid-game. We stuck ours down with two strips and left it for 24 hours before use.
The install: clean, press, wait
This is where most people rush and then blame the strip. Clean the surface first. We used isopropyl alcohol on a microfibre cloth and let it dry completely. Then we pressed each strip for 30 seconds, attached the item, and waited a full day before hanging anything. That waiting bit is boring. It is also the difference between a hook that holds and a hook that gives up during a clutch round.
We used two strips per hook, even though the pack said one was enough. We routed the controller cable through the trunking with a little slack so a sudden movement did not tug the dock. The headset mount went on the side of the desk, not the wall, because walls in rented flats are a lottery. The underside hooks took the headset and the spare cable. Nothing heavy. Nothing dangling near a knee.
Week one: the honeymoon
The dock stayed put. The trunking kept the cable from snaking across the desk. The headset mount held a 320g headset without creaking. Best of all, the desk felt calmer. There is a genuine performance benefit to not spending the first five minutes of every session untangling a cable from a chair leg.
We did a daily pull test on the hooks, not a hard yank, just a gentle check. Nothing moved. The trunking stayed stuck to the desk edge and the skirting. The only issue was cosmetic: the strips are visible if you look under the desk. If that bothers you, you are playing the wrong game.
Week two: heat, weight and one slip
One under-desk hook let go after we hung a headset and a braided cable on the same hook. That was our fault. The hook was rated for 1kg, but the adhesive was working against a slightly textured underside and a warm radiator nearby. We moved the hook away from the heat, cleaned the surface again, used two fresh strips, and kept the load under 400g. It stayed for the rest of the month.
Lesson: weight limits are not suggestions. They are the whole game. Also, adhesive hates heat. If your desk sits next to a radiator or a sunny window, expect the strips to soften. Move the kit or accept that your headset will eventually make a break for the floor.
Week four: the inspection drill
This was the real test. We removed everything the way a renter should: warm the strip with a hairdryer on low for 30 seconds, slide dental floss behind it, and peel slowly. The hook came off clean. The trunking came off clean. The headset mount left no mark on the desk. The controller dock strips came away with a gentle roll, not a rip.
We tested one strip on a patch of old emulsion paint first, because old paint is the enemy. It lifted a tiny flake. That is why you test in a corner. On the desk surfaces, no damage. On the skirting, no damage. The letting agent would have to be in a truly foul mood to call any of it wear and tear.
The renter's checklist
Buy more strips than you need. Keep the spares. Photograph the surfaces before you stick anything down. Check the weight rating on every hook and halve it. Keep adhesive away from heat. Do not stick anything to wallpaper, textured board or freshly painted walls. And when you leave, warm the strip before you pull. Patience is cheaper than a deposit deduction.
A rented flat does not have to mean a ranked setup held together by hope. For £25 and a bit of restraint, you can have a desk that feels solid, a floor that stays clear, and a check-out inspection that ends with a nod rather than a bill.