Solder, Calibrate, Climb: The Cheap Hall-Effect Fix for a Drifting Pad
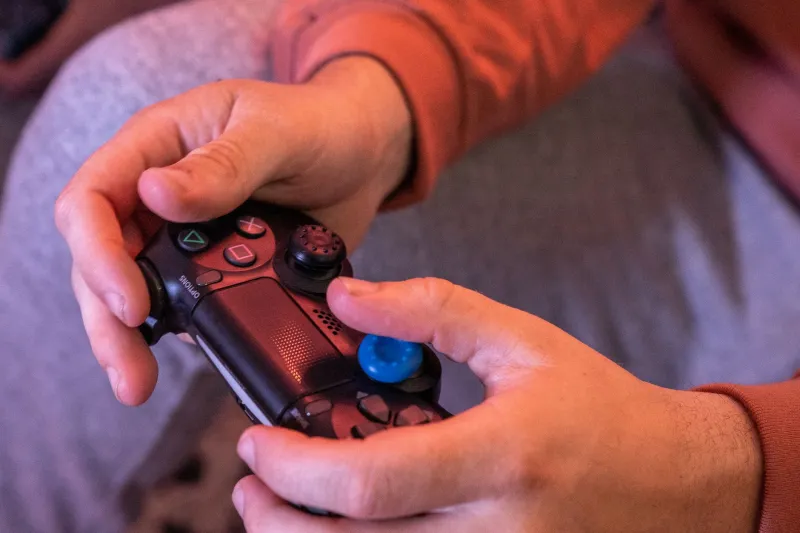
Stick drift is the gaming equivalent of a wheel alignment fault. The pad still works, the buttons still click, and yet every tiny input feels like it is being argued with by a ghost. Your crosshair creeps when you are not touching the stick. Your character moonwalks into a wall during a timeout. You start adding deadzone like a plaster over a broken window.
The usual advice is to buy a new controller. That is one option. It is also an expensive way to solve a mechanical wear problem that can often be fixed for less than the price of a takeaway. Hall-effect stick modules replace the worn carbon-track potentiometers inside your analogue sticks with magnetic sensors that do not physically rub themselves to death. For roughly £18 in parts, plus the tools you probably already have or can borrow, you can give a favourite pad a second life.
This is not a magic trick, and it is not for every controller. But if you are comfortable with a small screwdriver and a soldering iron, it is one of the most satisfying upgrades in the whole gear cupboard.
First, prove it is actually drift
Before you buy anything, spend five minutes confirming the problem. Open a browser-based gamepad tester on your PC and watch the stick axes without touching the controller. A healthy stick should sit near zero and return to centre cleanly. A drifting stick will show movement, flicker, or a resting value that sits off-centre.
Clean around the stick gate first. Dust and biscuit crumbs are real. A cotton bud and a little isopropyl alcohol can sort a surprising number of pads, especially if the drift is intermittent. If the stick still wanders after a clean, and a small in-game deadzone only hides the issue rather than fixing it, the analogue module is probably worn. That is the point where replacement makes sense.
What you are buying, and what to check
Hall-effect modules use a magnet and a sensor instead of a wiper running across a carbon track. No rubbing means no carbon dust, and no carbon dust means far less of the wear that causes drift in the first place. The catch is compatibility. Listings vary wildly, and the same controller shell can have different internal revisions.
Search for a hall-effect replacement module for your exact model and revision. Xbox Wireless Controller, DualSense, Switch Pro-style pads, and plenty of third-party shells all have options, but you need to check the listing photos against your board. Buy a matched pair if you are doing both sticks, and avoid no-name modules that do not state a model number. eBay UK, Amazon UK, and specialist parts sellers are the usual routes. Budget around £12–£18 for a pair, plus a few quid for a tri-wing or PH00 screwdriver if you do not already have one.
You will also want a fine-tip soldering iron, lead-free solder, flux, tweezers, isopropyl alcohol, and a spudger. If you do not own an iron, do not buy a cheap one just for this job unless you plan to use it again. A local repair café or a friend with a decent setup is the smarter move. The £18 figure assumes you are not starting from zero on tools.
The transplant itself
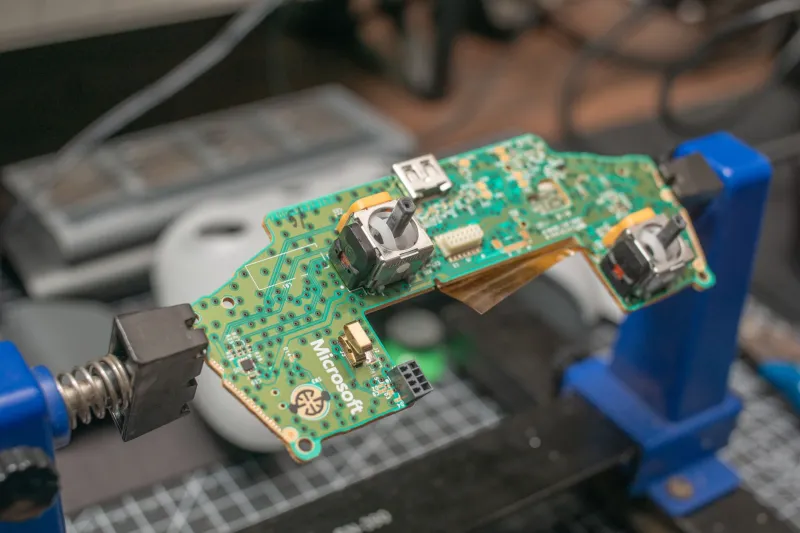
Open the pad carefully. Remove the battery or unplug it, take out the screws, and keep them in a cup or on a magnetic mat. Use a spudger to release the shell clips rather than yanking the two halves apart. Once inside, remove the stick caps and the retaining rings, then desolder the old module. Take your time here. Too much heat and you will lift a pad; too little and you will pull a trace. A fine tip, a small amount of flux, and quick joints are your friends.
Some pads use plug-in modules, which makes the job closer to a hot-swap than a full solder session. Most budget and first-party pads are soldered, so practise on a dead controller if you have one. Clean the old solder from the board with wick or a pump, fit the hall-effect module, and solder it down. Reassemble, but do not fully screw the shell together until you have tested it.
Calibration is not optional
Plug the pad in and open your gamepad tester again. Some hall-effect modules self-calibrate; others need a vendor tool or a specific button combination. Follow the instructions that came with the module, not a random video for a different revision. Check that the stick returns to centre, moves smoothly through its full range, and does not clip at the edges.
If there is a small offset, use the calibration software first. Only add a tiny in-game deadzone afterwards if you genuinely need it. A hall-effect stick should not need a 15% deadzone to behave. If it does, something is wrong with the install or the module.
The ranked-play test
Do not judge the repair in the firing range and call it done. Take it into your normal lobby for three matches. Use the same sensitivity and the same loadout you usually run. Watch for the things drift ruins: micro-adjustments at range, tracking a strafing target, and that horrible moment when you stop touching the stick and your aim keeps sliding.
Give it a week before you make a final call. A fresh module can feel slightly different under the thumb, and your muscle memory needs a session or two to settle. If the pad is still drifting after calibration, recheck the solder joints before you blame the part. If it is solid, you have just saved a controller from the bin and kept your aim consistent without spending pro-pad money.
The repair-over-replace maths
A new first-party pad is usually £55–£65. A pro-style controller is £150 and up. A pair of hall-effect modules is around £18, and the job takes maybe 30–60 minutes once you know what you are doing. Even if you pay a local repair shop £20–£30 in labour, you are still under the cost of a replacement for a pad you already like.
There is an environmental angle too. Controllers are full of plastic, circuitry, and batteries, and most drift failures are a worn part rather than a dead device. Repair cafés around the UK are full of people who will happily help you learn the basics. Just check your warranty first, because opening a pad will usually void it.
Stick drift is annoying, but it is not a death sentence. With a cheap module, a steady hand, and a proper calibration check, your old ranked controller can go back in the bag and keep earning its keep.